✨ Photographing the wood anemone Tips ✨
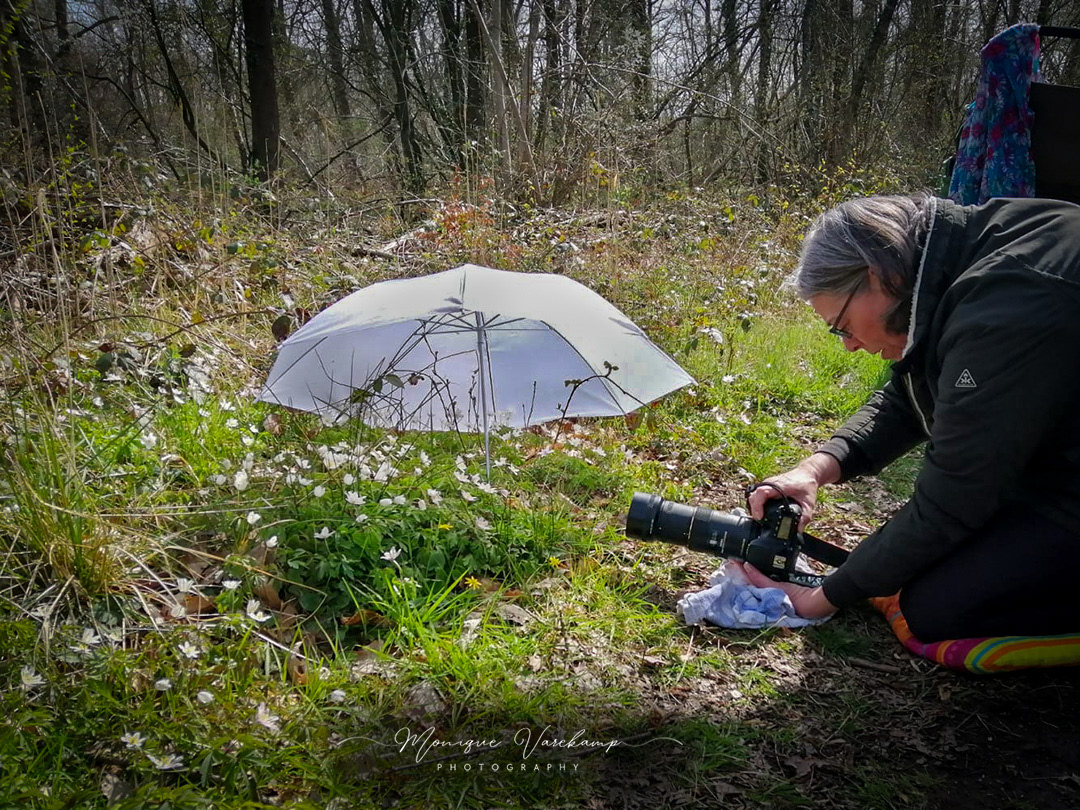
1. Choose the right time: go for photography sessions when the sun is shining, then the flowers are open. Place the flower in the shade while photographing, for example with a translucent parasol. These can be purchased in a photography specialty store, and they are often used in a photo studio.
2. Pay attention to the background: Find a quiet background to draw attention to the wood anemone. A blurred background can make the flower stand out. Garden a little around the flower if there is too much around it, to make the image a bit calmer. It's better to do that in the field than to have to photo shop on your computer afterwards.
3. Use a macro lens or between rings: With a macro lens you can get close and capture the details of the wood anemone, such as the delicate petals and heart of the flower.


4. Experiment with composition: Try different compositions, such as the placing the wood anemone in the center of the frame or using the rule of thirds for a more interesting composition. Move your camera low to the ground.
5. Be patient and observant: take the time to look at the flower from different angles and discover new backgrounds. Find the bokeh in the background. Take different photos with different settings. Then you can choose at home which one is the best and most beautiful.
I'm not going to talk about camera settings, if you want to learn how to use your camera properly, I recommend that you take a workshop, Or read the supplied manual for your camera. Which is of course also a good and useful tip for you.
Once you find them in a forest, you become addicted to them. Beware of a tick bite, protect yourself against it, prevention is better than cure! Good luck and of course have fun photographing.
Mon❤️
You can buy the photography parasol and a grip to place it on your tripod, for example, in a photography specialty store